


Create a schedule
A schedule is created in two dialogs: pick the QR code, then plan its changes. Nothing is applied until you save, and nothing about the QR code changes at the moment you save either — only later, at the dates you set.
Open the Scheduler
Open Scheduler from the console, then choose the QR Codes scheduler in the left rail. The organisation selector above it narrows the list to one organisation when you have several.
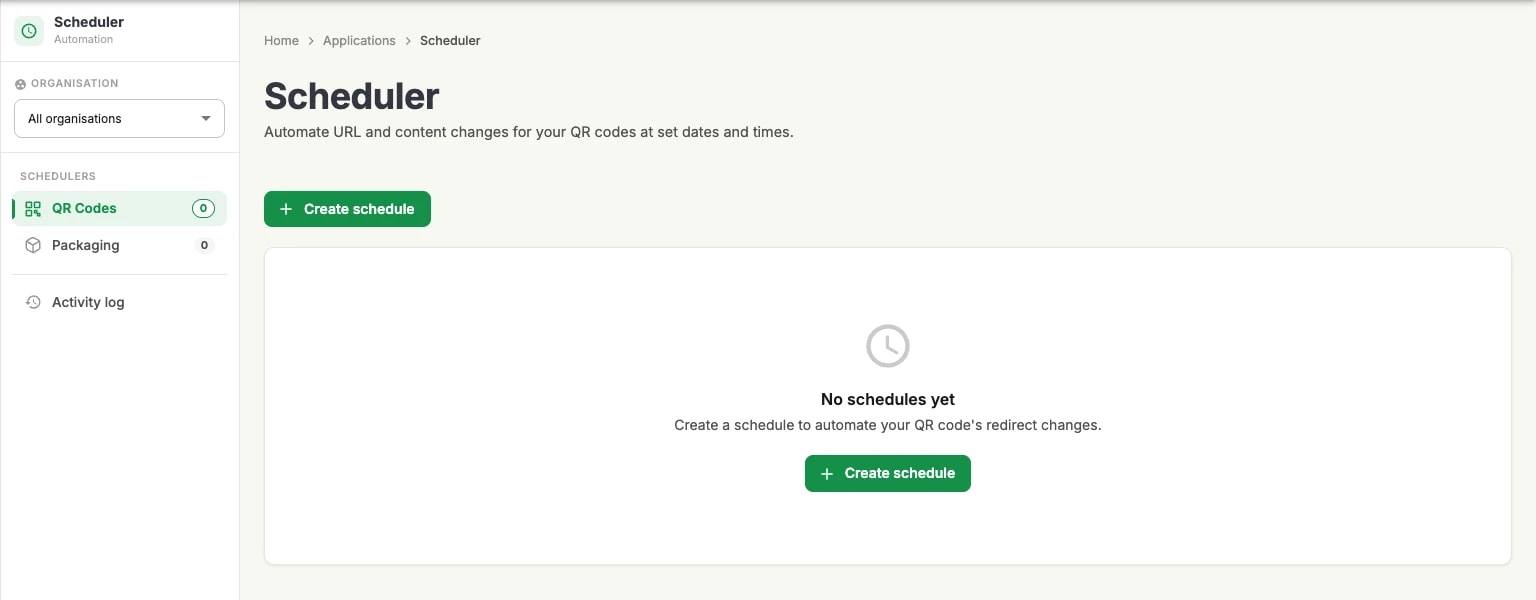
With no schedules yet the page shows an empty state and a single Create schedule button; once schedules exist, the same button sits above the list.
Select a QR code
The first dialog lists the QR codes you can schedule. Search by name or URL, and narrow the list with the campaign and label filters if the account holds a lot of codes.
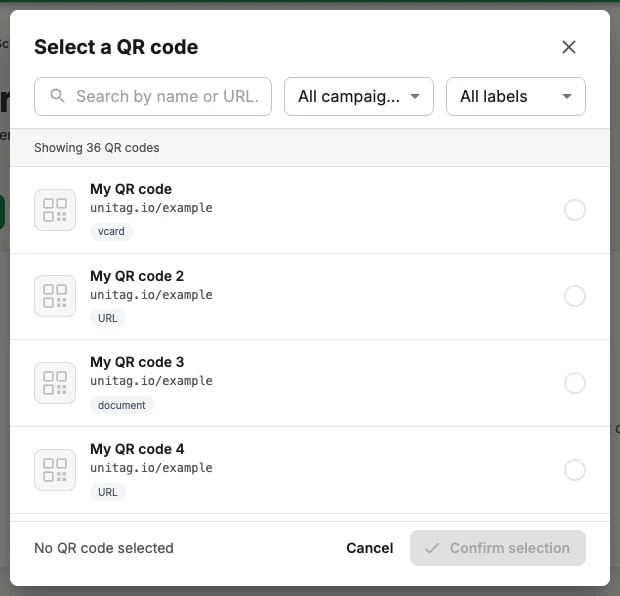
Each row shows the code's name, its short URL and its current content type — the chip that reads URL, vcard, document and so on. That chip matters: it is what the schedule will be changing.
Pick one code and confirm the selection. A schedule covers a single QR code; to schedule several codes, create several schedules.
Plan the changes
The second dialog is the schedule itself. It states the rule at the top — up to three automatic changes for this QR code — and shows the destination the code resolves to today, so you can see what you are changing from.
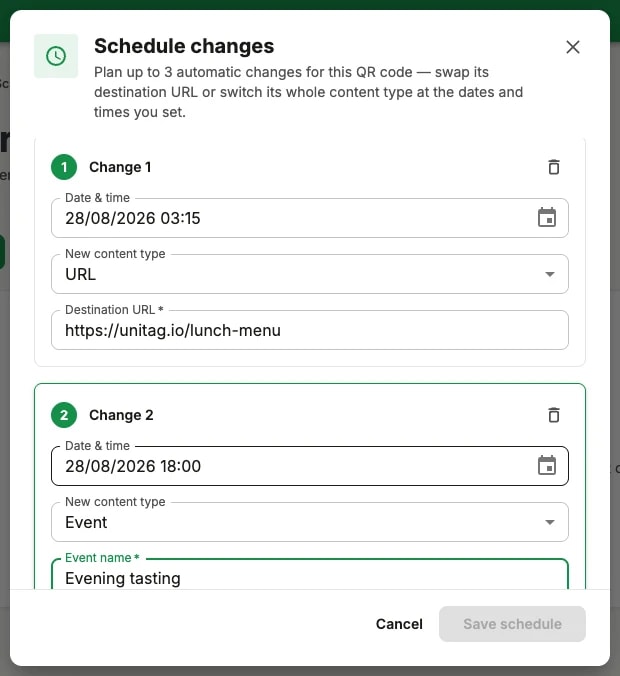
Each change is numbered and holds:
Date & time: when the change is applied, to the minute, in DD/MM/YYYY hh:mm.
New content type: what the code becomes at that moment.
the fields that content type needs — a destination URL for a URL, an event name, location, start and end dates and a time zone for an event, and so on.
Add a change adds the next one, up to three. The bin icon on a change removes it. Save schedule stores the plan.
Changing the content type
The New content type list holds the same content types the QR code generator offers:
URL, Phone call, Email, SMS, Location, Event, Wifi network, Plain text, Document, vCard classic and Audio media.
Choosing one replaces the form below it with that type's fields, exactly as in the generator. Picking Event, for instance, asks for the event name, its location, its start and end dates and a time zone.
This is the difference between Scheduler and simply editing a destination: a scheduled change can turn a QR code into a different kind of QR code, without the printed pattern changing at all. What the code contains is covered in QR code content.
After saving
A saved schedule appears in the list under its scheduler, and stays editable until its changes have run. Deleting it cancels the changes that have not yet been applied; changes already applied stay applied — the QR code keeps whatever content it was last given.