


Create a QR code
Creating a QR code is quick. Five steps produce a fully customised code with no expiry date and no limit on the number of scans.
Open the QR Codes app and click .
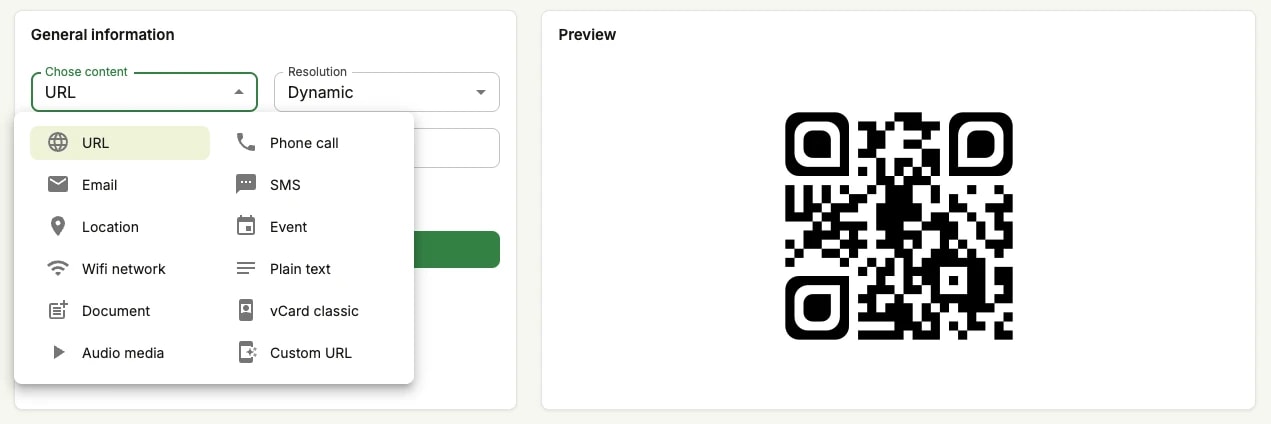
Choose the content and the resolution
In the General Information panel, top left of the generator:
Select a resolution type: dynamic or static. Dynamic keeps the destination editable and counts the scans; static encodes the content into the pattern for good.
Select your content: what the QR code carries — a URL, a document, a phone number, an email, a Wi-Fi network, and so on.
Submit and preview your QR code
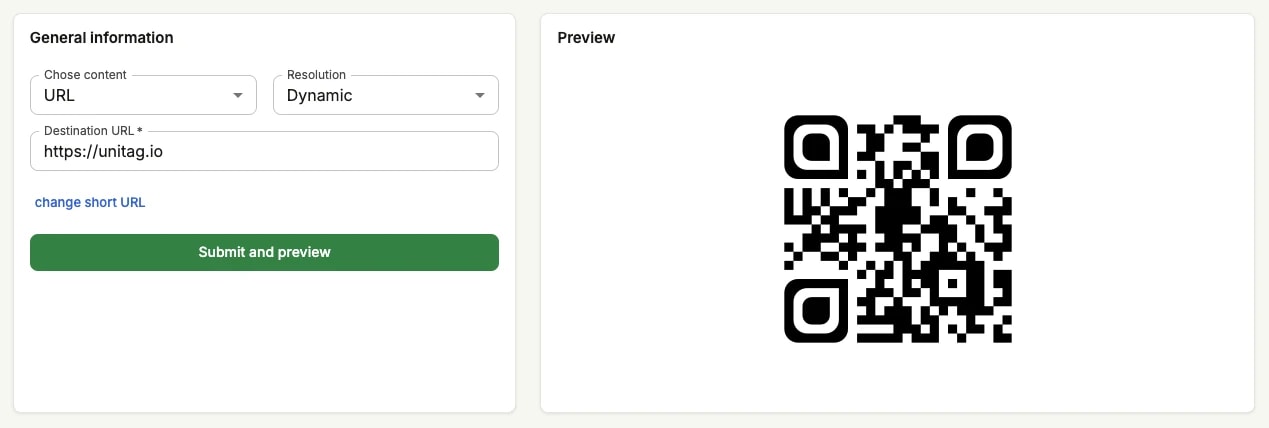
Fill in the fields the chosen content asks for, then click . The preview on the right updates to the code you will actually get.
For what each content does once scanned, see QR code content.
QR code styling
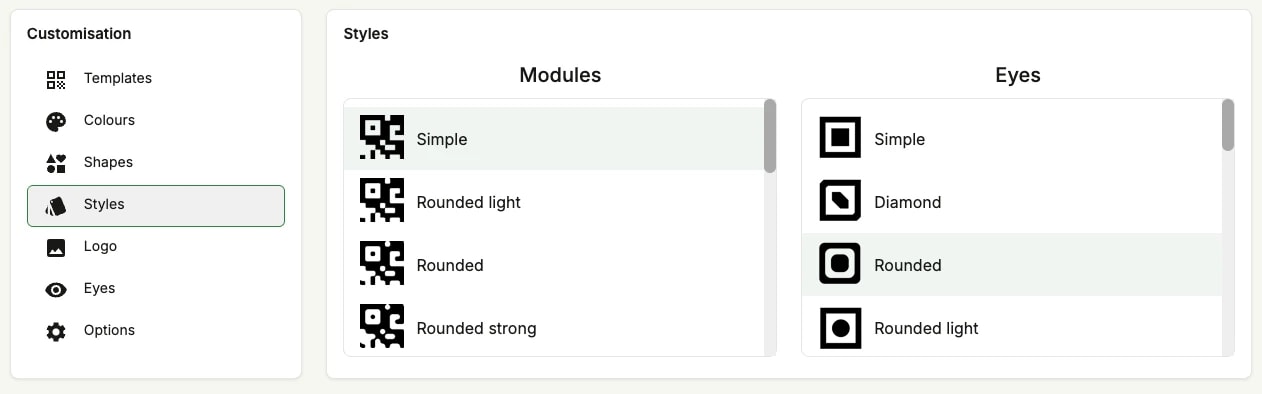
The Customisation panel opens on the left: templates, colours, shapes, styles, a logo, the eyes, and further options. Nothing here changes what the code contains — only how it looks — so you can keep adjusting until the preview reads well at the size you intend to print.
Save and create your QR code
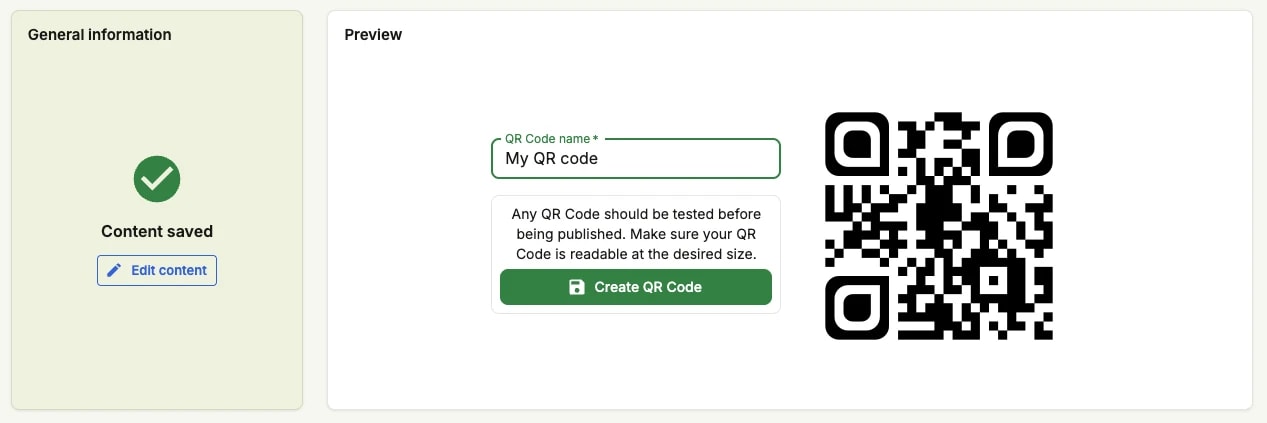
Give the QR code a name in . It is how you will find the code again in the list, so make it specific.
Click .
Test the code before you publish it anywhere: scan the preview with a phone and check both that it resolves and that it reads at the size you plan to print.
Download it from the QR code page
Click in the panel on the right.
Pick the format and the size the medium calls for — a vector file for print, a raster one for the web.
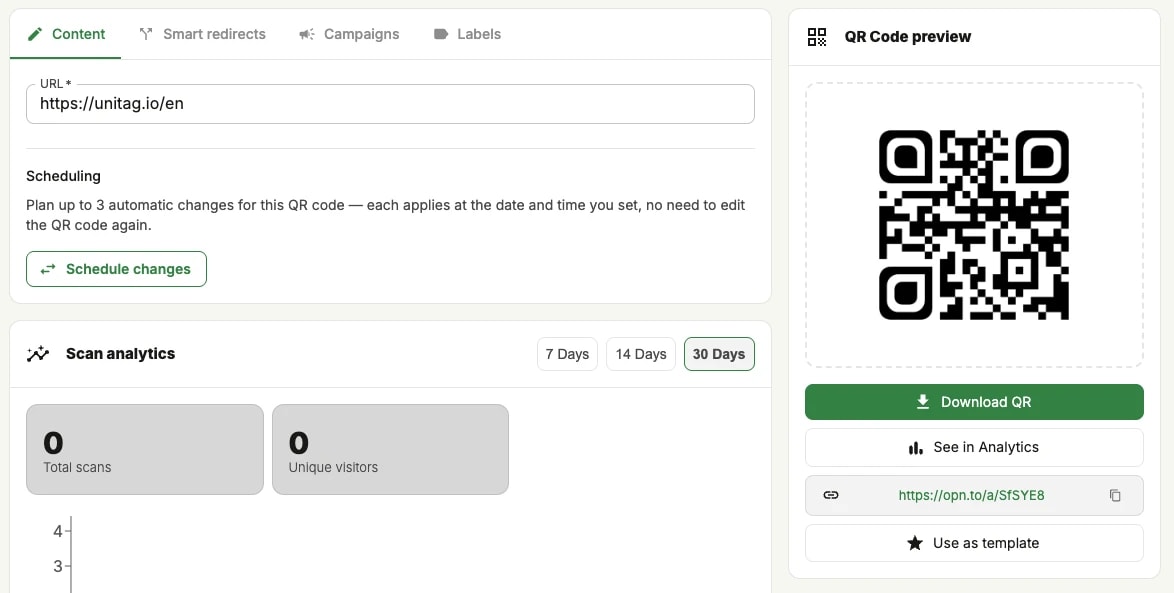
The same page also carries the short URL, a shortcut to the scan statistics, and Use as template if you want the next code to look like this one.